FPGA: Create a Custom IP with Vitis HLS 2025.2
Overview
This project is on the 2025.2 Xilinx toolchain. The flow looks like this:
UVC camera (USB)
  -> userspace MJPEG decode (RGB888 in DDR)
  -> AXI VDMA MM2S
  -> HLS my_filter (grayscale, AXIS24)
  -> AXI VDMA S2MM
  -> userspace RGB -> GStreamer kmssink
  -> PS DisplayPort
One important note up front: for Vivado, create the project on the Ultra96-V2 board so the presets pull in USB, DisplayPort, clocks, and DDR correctly.
Block Design
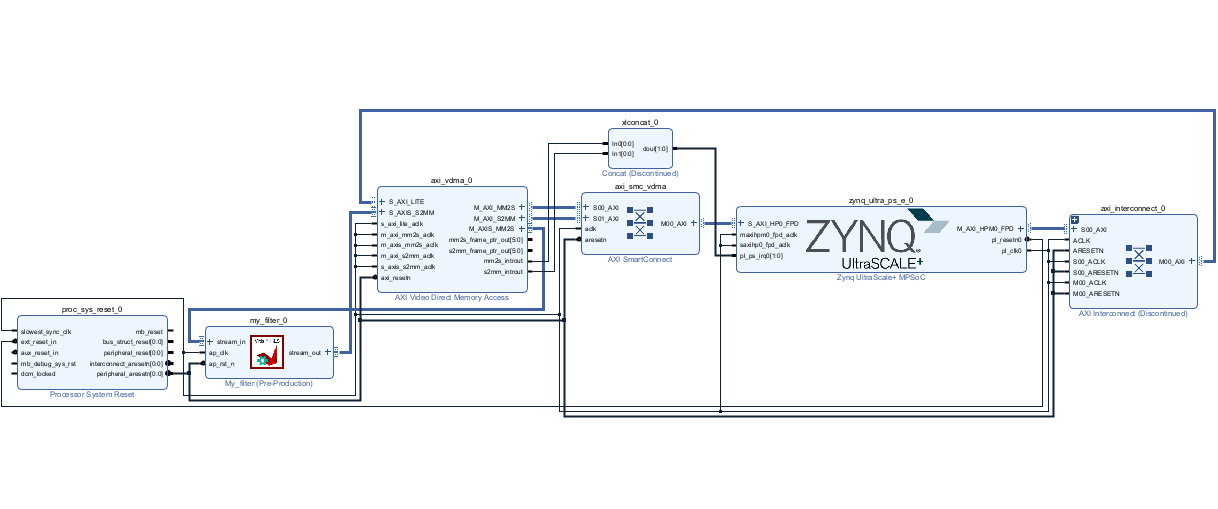
Step 1: Creating the HLS IP
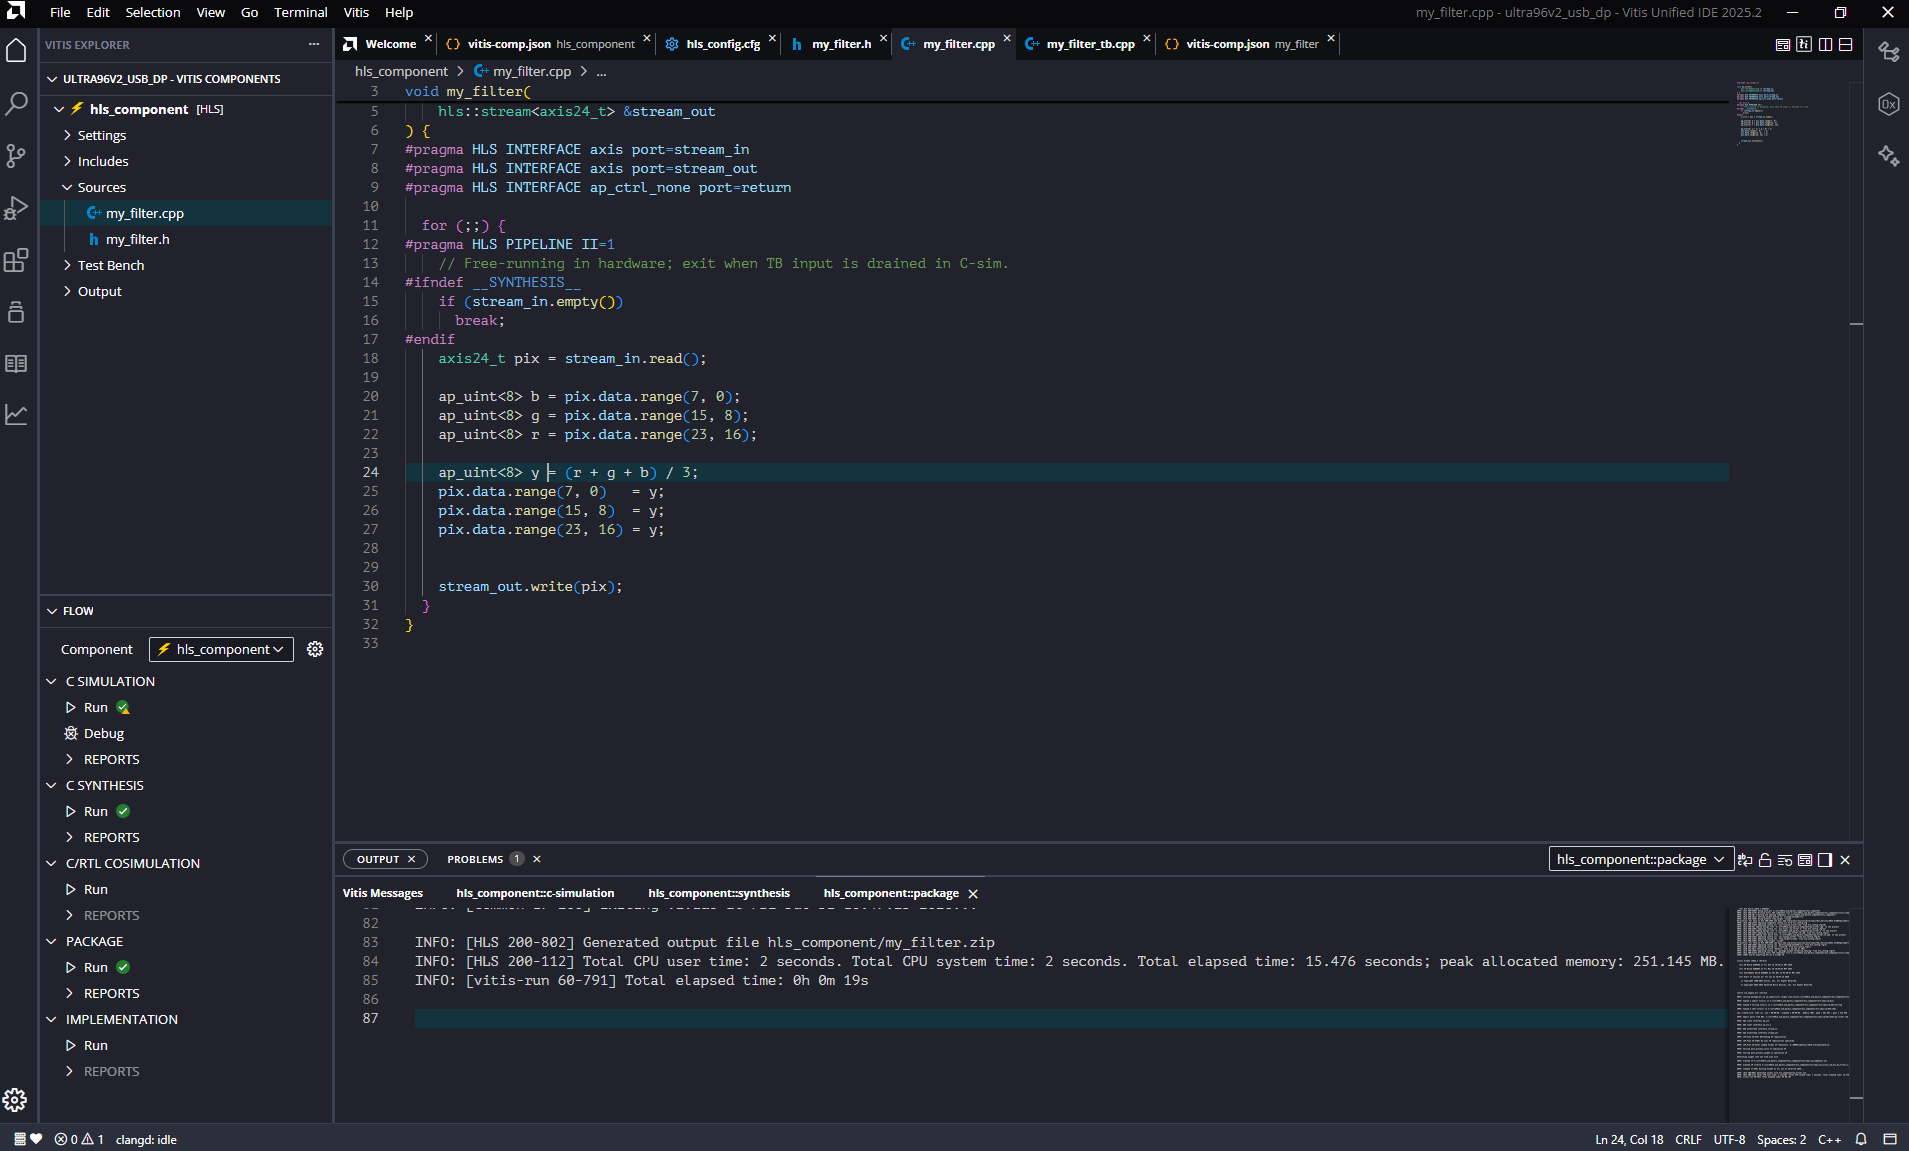
I started in Vitis HLS with a small free-running grayscale filter called my_filter. Each AXIS beat is one 24-bit RGB pixel. The IP leaves TUSER / TLAST alone and uses ap_ctrl_none, so there is no AXI-Lite control bus to wire up later — which keeps the block design simpler.
Source files for the HLS project:
In the GUI:
- New Project (e.g.
my_filter_prj) - Add design sources (
my_filter.cpp/my_filter.h) and the test bench - Top function:
my_filter - Part:
xczu3eg-sbva484-1-i - Clock: 10 ns (100 MHz), matching a typical
pl_clk0 - Run C Simulation — expect something like
PASS: grayscale OK - Run C Synthesis, then Run Package to export the IP (
xilinx.com:hls:my_filter:1.0)
I dropped the exported IP under something like ip_repo/ so Vivado can pick it up from the repository settings.
Step 2: Vivado block design
Before creating the project, point Vivado at the Ultra96-V2 board repository (Tools → Settings → Board Repository), then make sure Ultra96-V2 shows up under the Boards tab.
Create a new project on the Ultra96-V2 board.
Next:
- Settings → IP → Repository → add the folder containing
my_filter - Create a block design (e.g.
u96v2_dual_vdma) - Add the Zynq UltraScale+ MPSoC and run Block Automation / board preset — confirm USB3 host and DisplayPort stay enabled, and that an HP port is available for VDMA
- Add the HLS IP plus AXI VDMA for the stream path (MM2S into the filter, S2MM back out)
- Map the VDMA AXI-Lite registers — I used
0xA0000000(MM2S) and0xA0010000(S2MM) - Connect AXIS, clocks/resets, and memory through SmartConnect / interconnect as needed
- Validate Design, create the HDL wrapper, generate the bitstream
- Export Hardware including the bitstream (e.g.
u96v2_dual_vdma.xsa)
Step 3: Configuring PetaLinux
Source the 2025.2 settings script, then create a ZynqMP project and import the XSA:
petalinux-create --type project --template zynqMP --name u96v2_cam_dp
cd u96v2_cam_dp
petalinux-config --get-hw-description=/path/to/dir/with/u96v2_dual_vdma.xsa
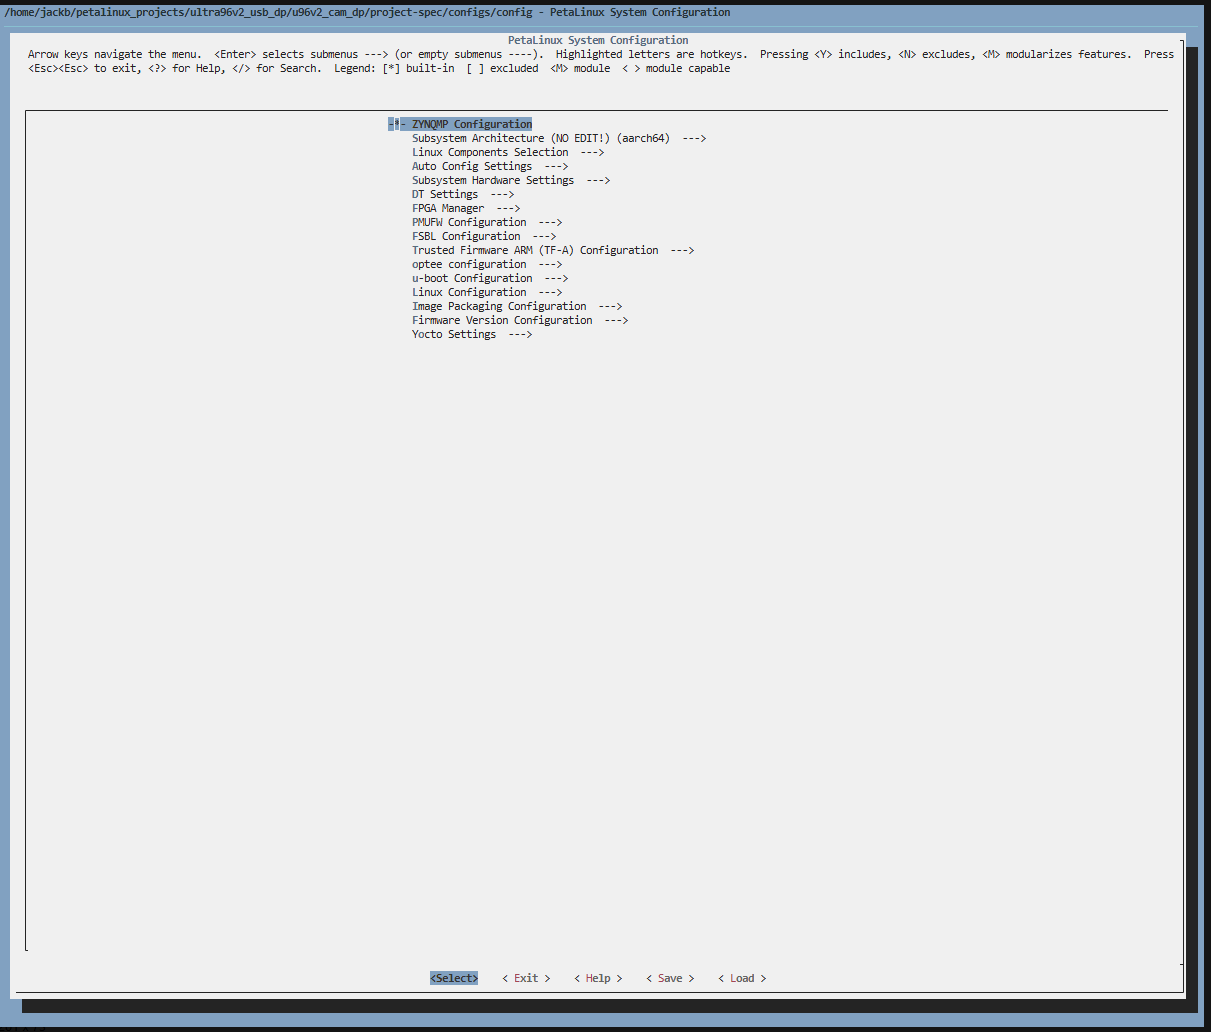
In the system menuconfig I set the usual Ultra96 pieces:
- DTG Settings → Machine name:
avnet-ultra96-rev1 - Subsystem → Serial Settings:
psu_uart_1 - Image Packaging → Root filesystem type:
ext4
Device tree
The app drives the VDMA through /dev/mem, so I disabled the generated VDMA nodes and reserved the frame-buffer DRAM. Under project-spec/meta-user/recipes-bsp/device-tree/ I added a device-tree.bbappend and a files/system-user.dtsi along these lines:
/include/ "system-conf.dtsi"

/ {
	chosen {
		stdout-path = "serial0:115200n8";
		bootargs = "earlycon=cdns,mmio32,0xFF010000,115200n8 console=ttyPS0,115200 clk_ignore_unused root=/dev/mmcblk0p2 rw rootwait cma=512M";
	};

	reserved-memory {
		#address-cells = <2>;
		#size-cells = <2>;
		ranges;

		vdma_framebufs: vdma-framebufs@70000000 {
			reg = <0x0 0x70000000 0x0 0x01000000>;
		};
	};
};

&axi_vdma_mm2s {
	status = "disabled";
};

&axi_vdma_s2mm {
	status = "disabled";
};
If the VDMA labels differ after the first build, check the generated pl.dtsi and adjust. Then rebuild the device tree:
petalinux-build -c device-tree
Kernel and rootfs
Open the kernel menuconfig and enable the pieces below (prefer built-in * for first bring-up). Use / to search if a path has moved slightly:
petalinux-config -c kernel
- Memory Management options → Contiguous Memory Allocator (
CONFIG_CMA)- Pool size can come from the cmdline; this project’s
system-user.dtsialready setscma=512Minbootargs
- Pool size can come from the cmdline; this project’s
- Device Drivers → USB support
- Enable USB support, xHCI / USB3 as offered
- Enable DesignWare USB3 (DWC3) host / DRD as offered by the BSP
- Device Drivers → Multimedia support → Media USB Adapters → USB Video Class (UVC)
- Also enable the V4L2 options you need so the webcam shows up as
/dev/video0
- Also enable the V4L2 options you need so the webcam shows up as
- Device Drivers → Graphics support → Direct Rendering Manager (DRM)
- Enable Xilinx DRM / DisplayPort TX (
DRM_XLNX,DRM_XLNX_DPTX, and bridges as listed) so GStreamer can usekmssink
- Enable Xilinx DRM / DisplayPort TX (
- Device Drivers → DMA Engine support → Xilinx DMA (optional)
- Fine to leave enabled; with the VDMA nodes disabled in DT it will not claim the PL blocks
Save and exit, then:
petalinux-build -c kernel
On the rootfs side (petalinux-config -c rootfs) I pulled in GStreamer, v4l-utils, usbutils, libdrm / libdrm-tests, and libjpeg-turbo for MJPEG decode. Use / to search package names if needed.
Userspace app
I added an app recipe for the passthrough binary and launcher:
petalinux-create -t apps --name usb-dp-passthrough --enable
That recipe builds usb-dp-vdma (UVC → VDMA/HLS → RGB) and installs usb-dp-passthrough.sh with MODE=soft or MODE=vdma. After enabling it in rootfs, build and package:
petalinux-build

petalinux-package --boot --fsbl images/linux/zynqmp_fsbl.elf \
  --u-boot --pmufw images/linux/pmufw.elf --fpga --force

petalinux-package --wic --force
Flash images/linux/petalinux-sdimage.wic to the SD card.
Step 4: Board bring-up
Boot the Ultra96-V2 with a DisplayPort monitor and a UVC camera on USB-A. Serial console is UART1 → ttyPS0.
First I check the colour / software path:
MODE=soft sudo -E usb-dp-passthrough.sh
Then the PL grayscale path:
MODE=vdma sudo -E usb-dp-passthrough.sh
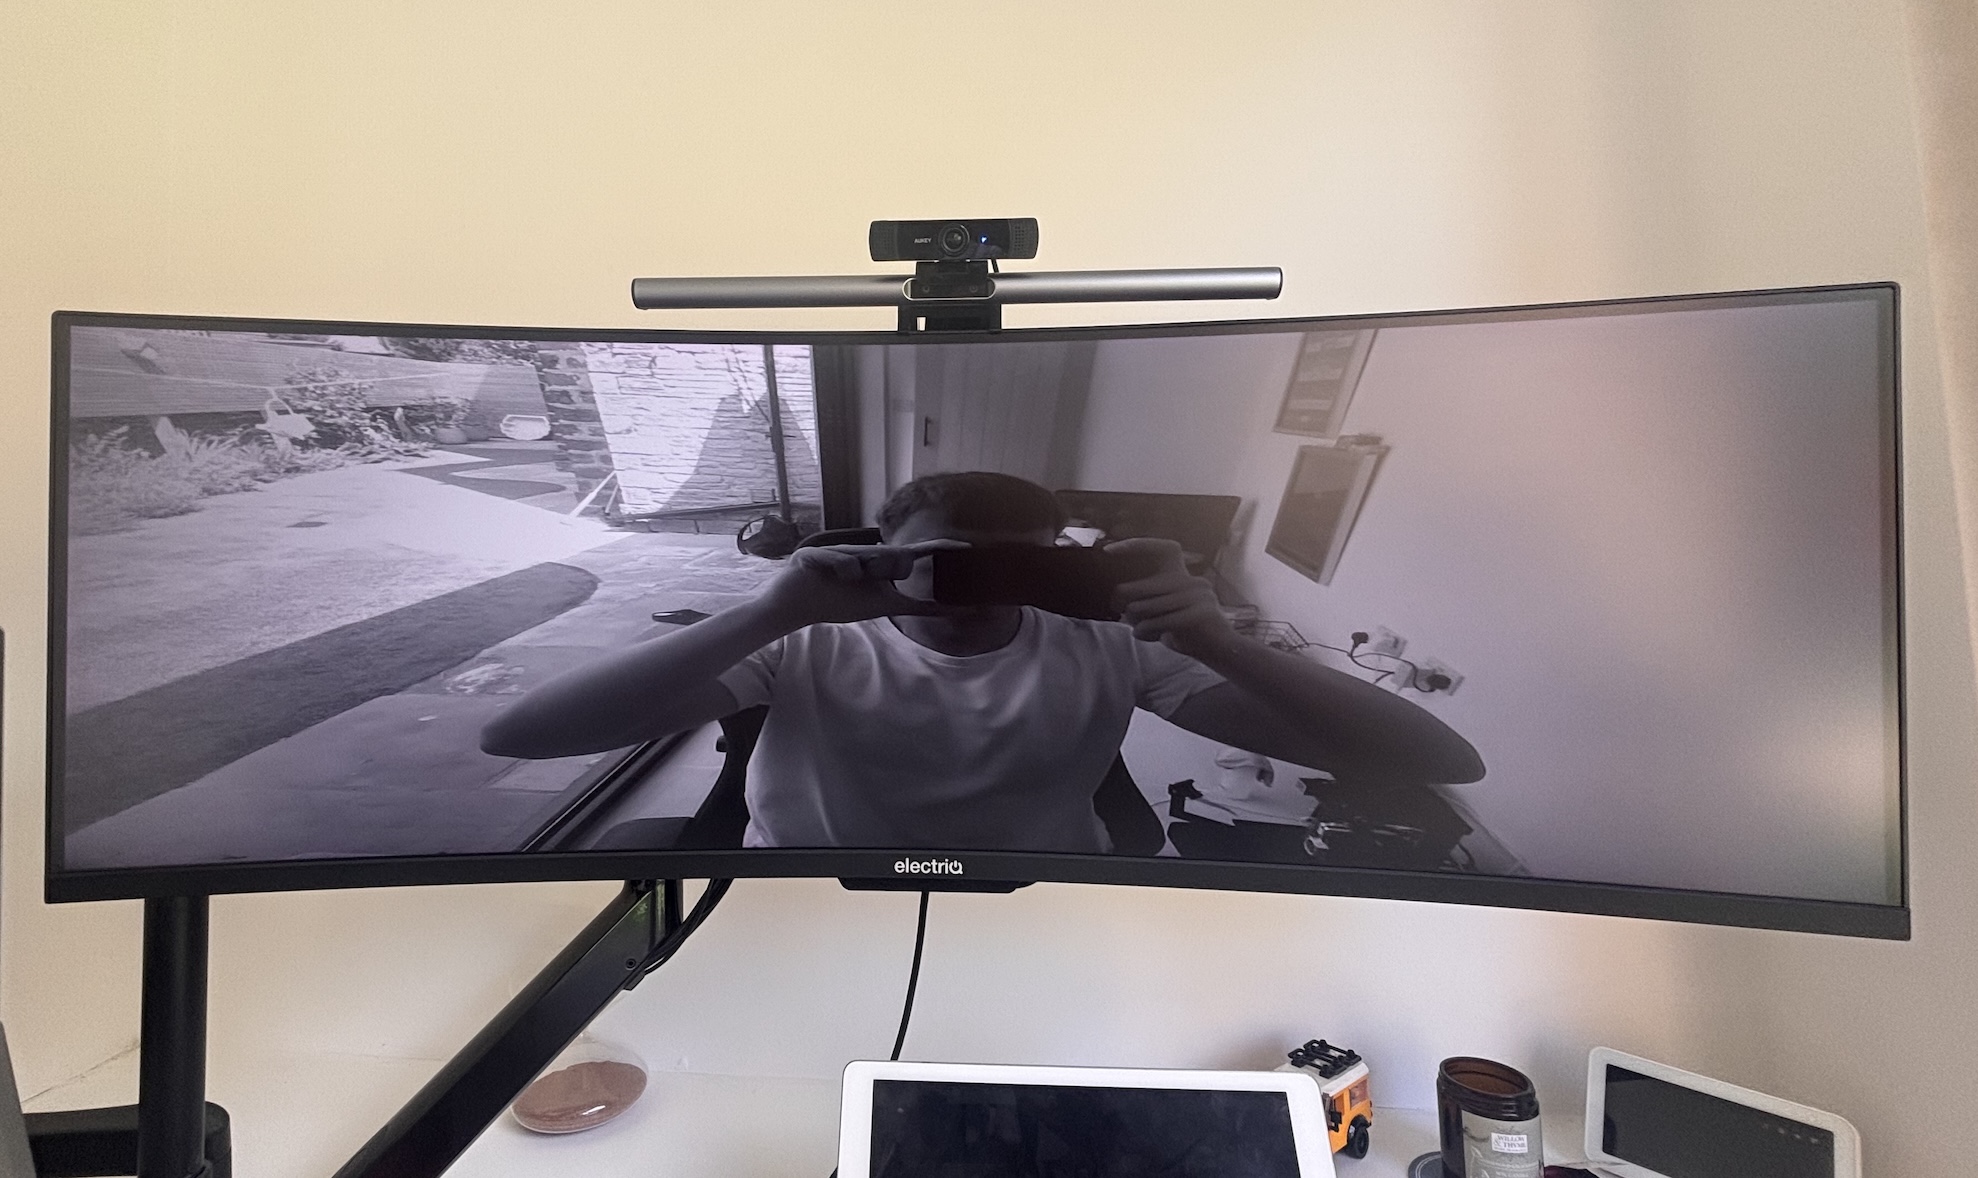
With the HLS filter in the loop you should see gray video and logs around 25–30 fps.
Changing the filter later
Editing the filter is the nice part of this flow. Change my_filter.cpp in Vitis HLS (keep AXIS24 + ap_ctrl_none unless you change the block design), re-export the IP, upgrade it in Vivado, export a new XSA, then re-import into PetaLinux and rebuild. The app only needs changes if the buffer or VDMA base addresses move.